Cyferd Remote Agent
- Positioning
- Installation
- Configuration
Positioning
One of the challenges of any Cloud product is how to interact with datasources
that are not also in the Cloud. You might have databases or webservices that
are inaccessible except inside your network perimeter, protected from outside
access by your firewalls, but they are useful to your externally hosted
business processes.
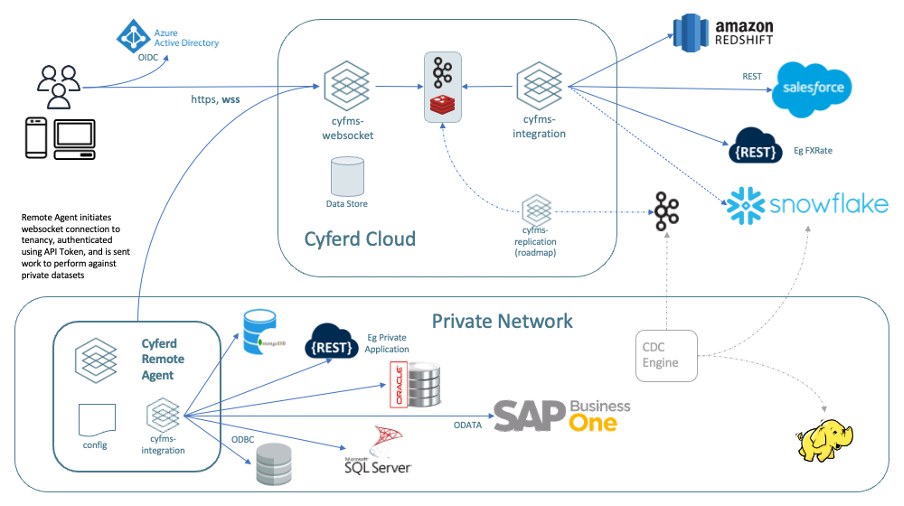
The Cyferd Remote Agent can be installed inside your secure perimeter to provide access to your private data in your Cyferd tenancy. It follows
Zero Trust principles, by connecting outbound to Cyferd to create a tunnel that
datasource requests can be sent through, not requiring any holes in your
firewall to enable access from Cyferd. No other product or Cyferd tenancy
can leverage this tunnel.
The Agent establishes the same secure websocket connection to Cyferd that a
browser user would, though it uses an API Key for authentication instead of the
OAuth2/OIDC authentication that the users are required to perform.
The Agent can access any REST or ODBC database endpoint that the machine it
is installed on is permitted and able to connect to.
Drivers for PostgreSQL, MySQL/MariaDB, Oracle, SQLServer are embedded in the
Agent, but it can also use any 64-bit ODBC System DSN or DSN-less Driver that
you have installed & configured on that machine.
#top
Installation
Installation of the Cyferd Remote Agent is a simple next-install-finish
procedure, but you’ll have to follow this with a simple configuration step
before starting the new Windows service.
| 1 |
Download the installer. Right-click on the file and Unblock it
otherwise Windows may resist running a downloaded file. It is recommended
that you right click on the file and choose Run as Administrator
when you run the installer. |
See Download
Installer |
| 2 |
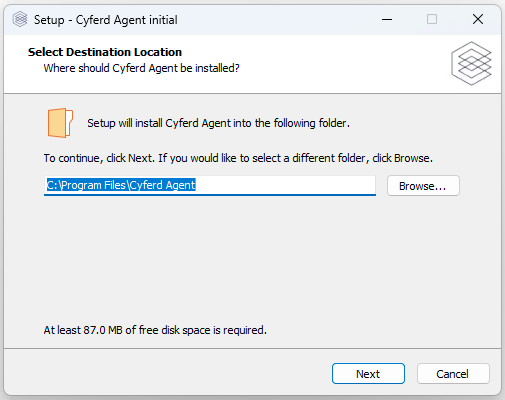
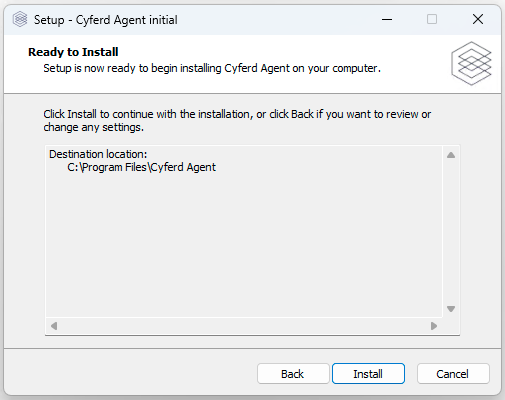
Choose the location that the agent will be installed into.
Default location is C:\Program Files\Cyferd Agent |
|
| 3 |
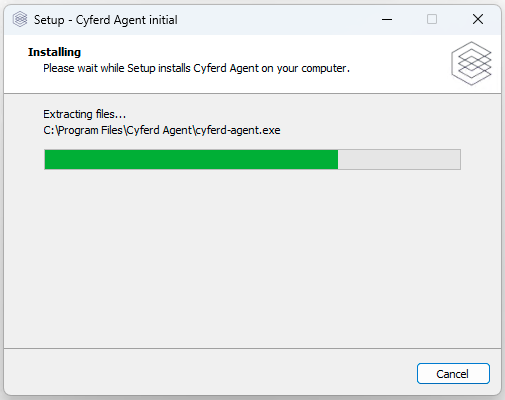
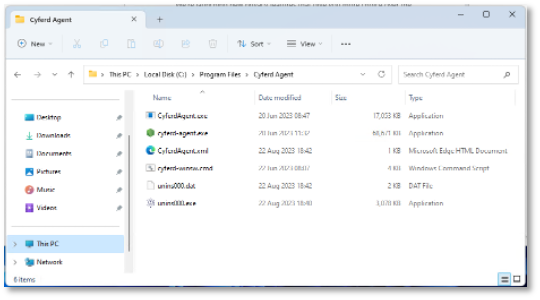
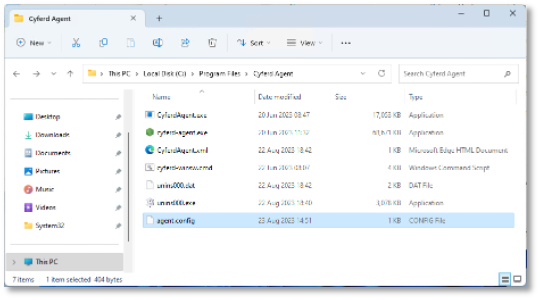
Installation results in several files installed into
C:\Program Files\Cyferd Agent
- CyferdAgent.exe is started by Windows as a Service Wrapper,
- which identifies where logs are redirected to, failure recovery, and the actual
Remote Agent executable from CyferdAgent.xml
- The actual worker process is cyferd-agent.exe
- which determines the tenancy to connect to from agent.config
|
 |
| 4 |
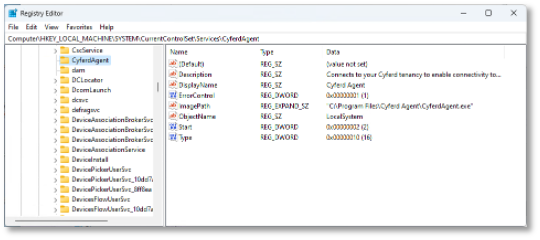
A Windows Service is created in the Registry at
HKLM\SYSTEM\CurrentControlSet\Services\CyferdAgent
|  |
| 5 |
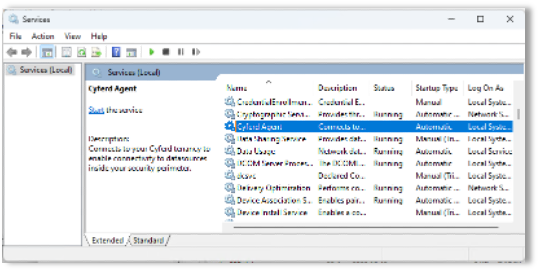
NOTE: the service will not run at this stage; the configuration step below
needs to be followed before the service will run. |
 |
| 6 |
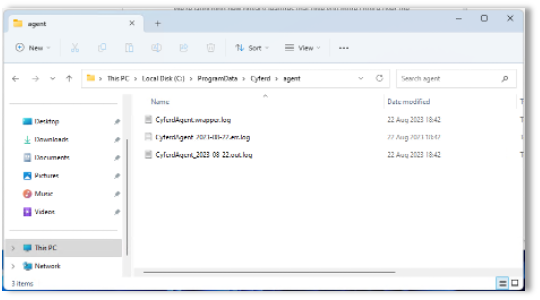
Logs are written to C:\ProgramData\Cyferd\Agent\ and stored in daily files. |
 |
#top
Configuration
You’ll need an Agent Configuration file, downloaded from the Builder in your Tenancy.
This contains a Base64 encoded JSON object that identifies your tenancy, and an API Key
to authenticate into it.
| 1 |
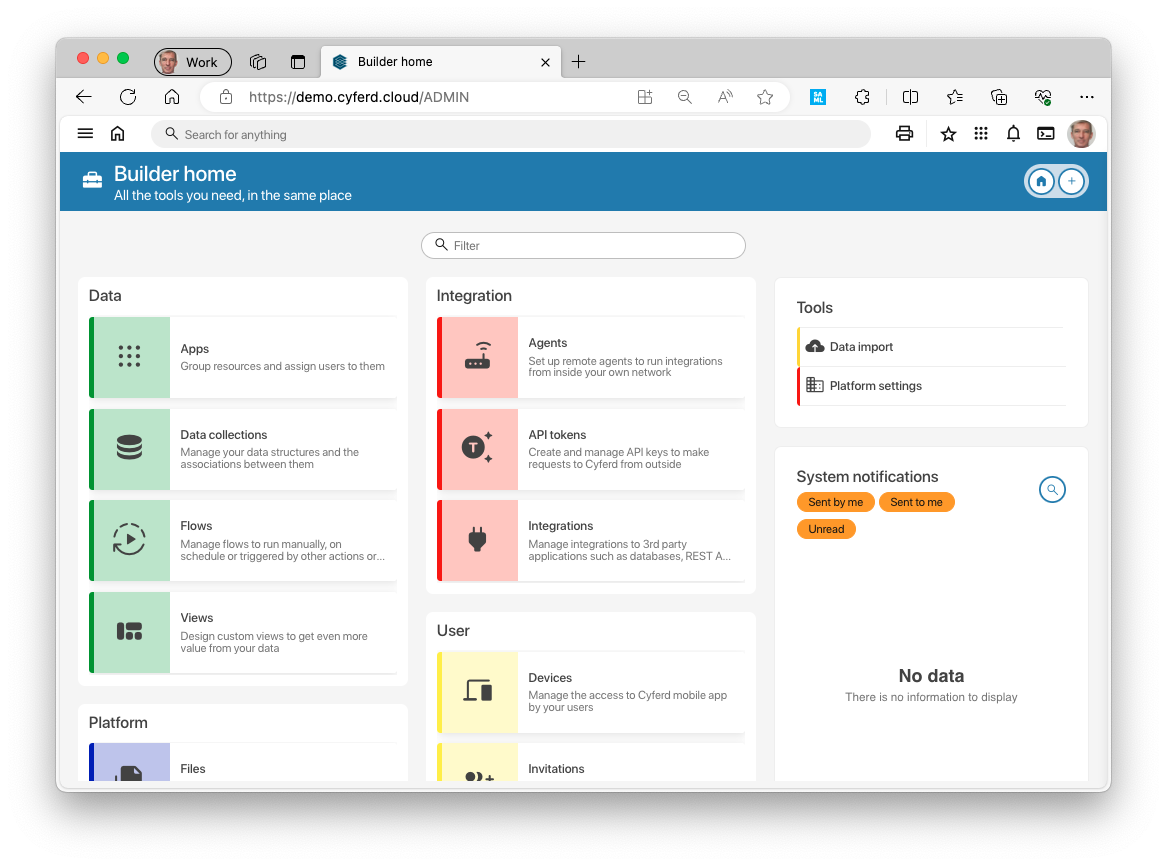
In Cyferd, navigate to the Builder Home page then click on Agents |
 |
| 2 |
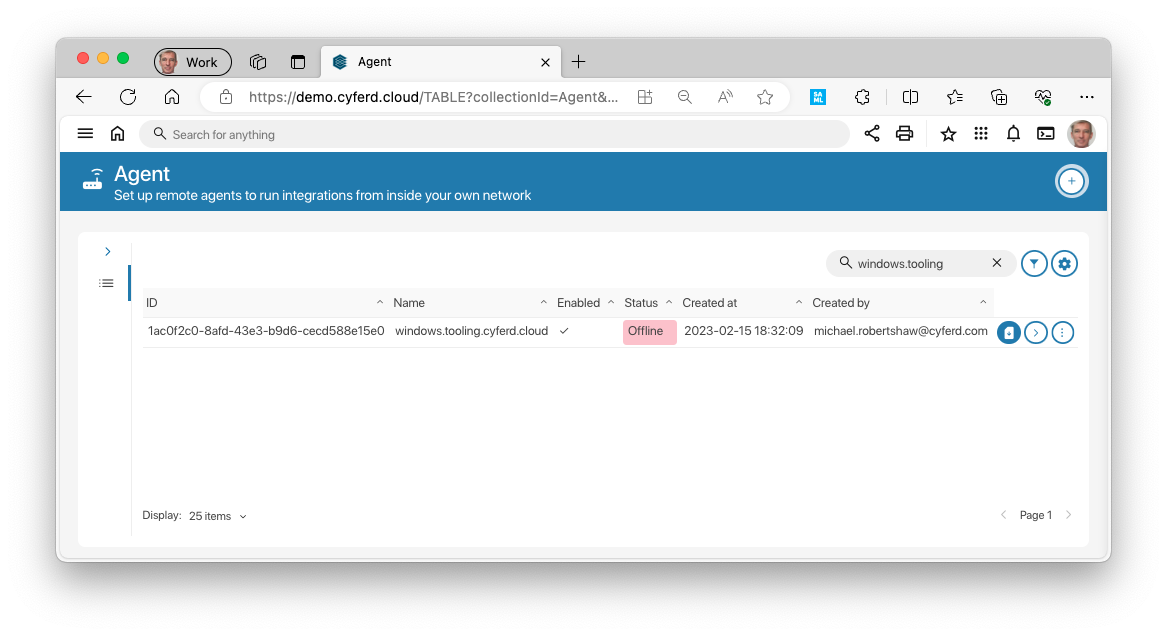
Create or select an Agent and click the blue Download config button to
generate a new token and download agent.config to your machine. |
 |
| 3 |
Move agent.config into the C:\Program Files\Cyferd Agent\ folder |
 |
| 4 |
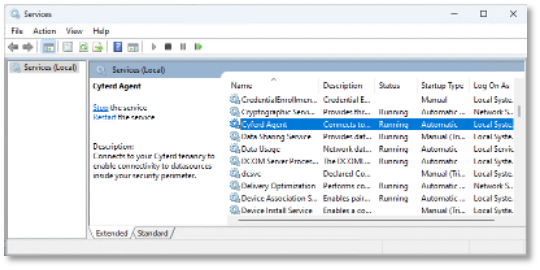
Start the Cyferd Agent service. This causes the Agent to establish a
connection to your tenancy. |
 |
| 5 |
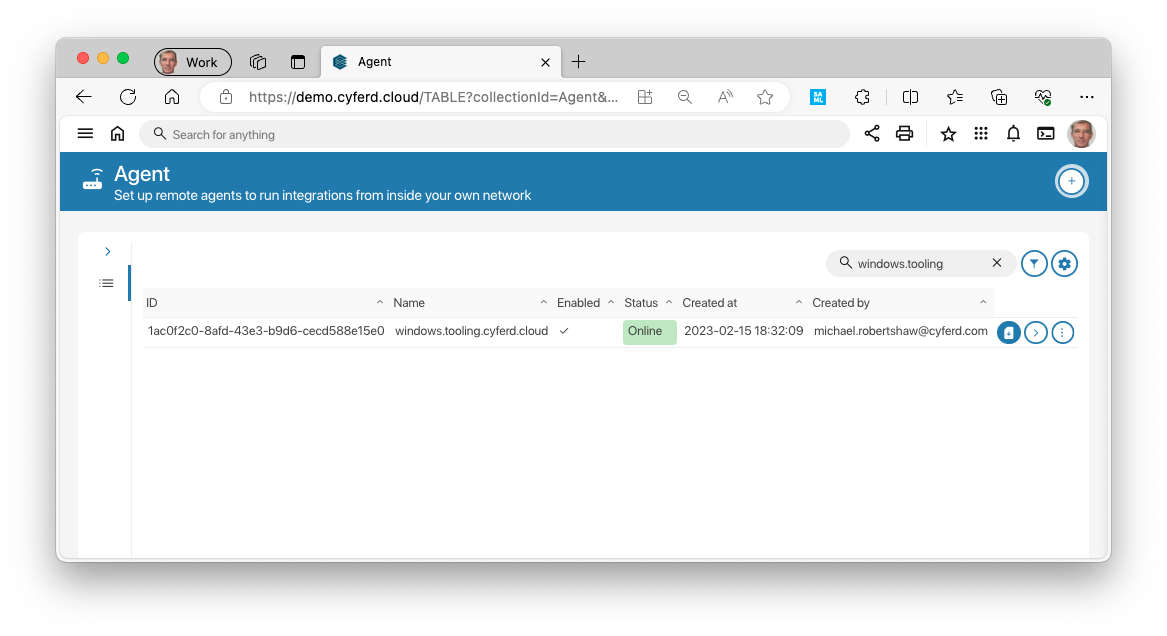
Return to the Cyferd Agents view from step 2 and the agent should now
be showing as Running. (You may need to refresh the browser view). |
 |
Any System ODBC datasources (DSN) configured or database available to connect to from
the Agent host can now be setup as an Integration in Cyferd. An integration can
be connected to an agent, it will always connect to the datasource through that agent.
When no agent is connected to an integration it will run directly from the cloud to
the datasource.
#top
